

Start Guide · Play Courses Screen · Play & Edit Screen · Override Function · Free Play Screen · Media Library · Resources Section · Tools · Easy Voice Recorder · Back up & Restore · Import & Export · Support Screen · Forum
Today, I'm going to give you an overview of Little Musician's key features. To start off, let's open Little Musician. You can do this by double-clicking on the Little Musician desktop icon, or by clicking on the Quick Launch or Start Menu shortcuts.
![]()
Start Guide
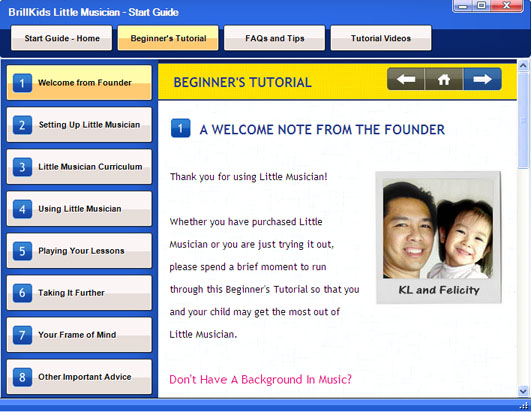
On the very first time you open Little Musician you will be greeted by the Start Guide. If you are new to using Little Musician, I highly recommend that you go through the Beginner's Tutorial, it's an excellent introduction to Little Musician and this short tour will help you discover Little Musician's full potential.
The Start Guide is also quite handy because from this window, you can easily browse through Tutorial Videos, find answers to frequently asked questions and get some tips on how to maximize your Little Musician – definitely a must-see for all first-time users of Little Musician!
Play Courses Screen
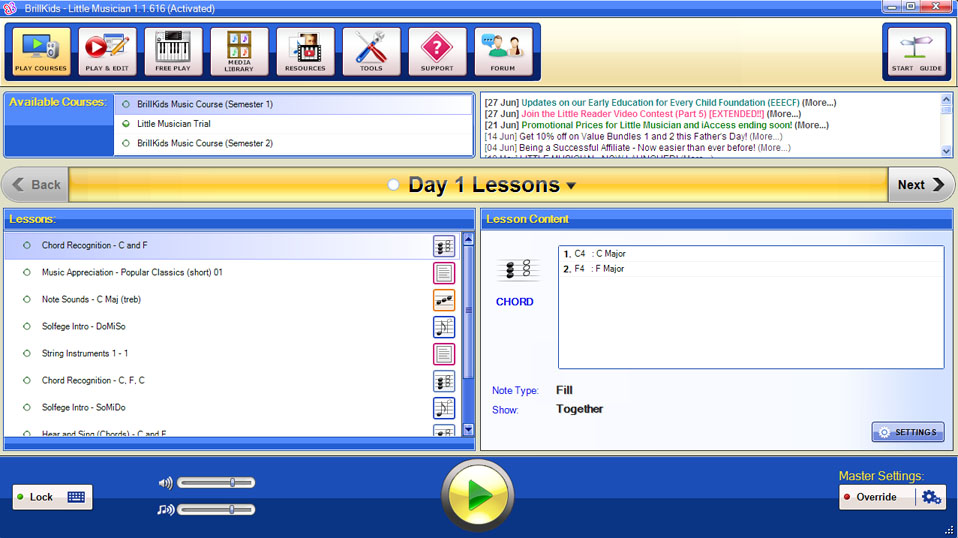
Once you close the Start Guide, you will see the PLAY COURSES screen, where you can quickly start playing your Little Musician lessons simply by selecting the lesson you want and pressing Play.
Play & Edit Screen
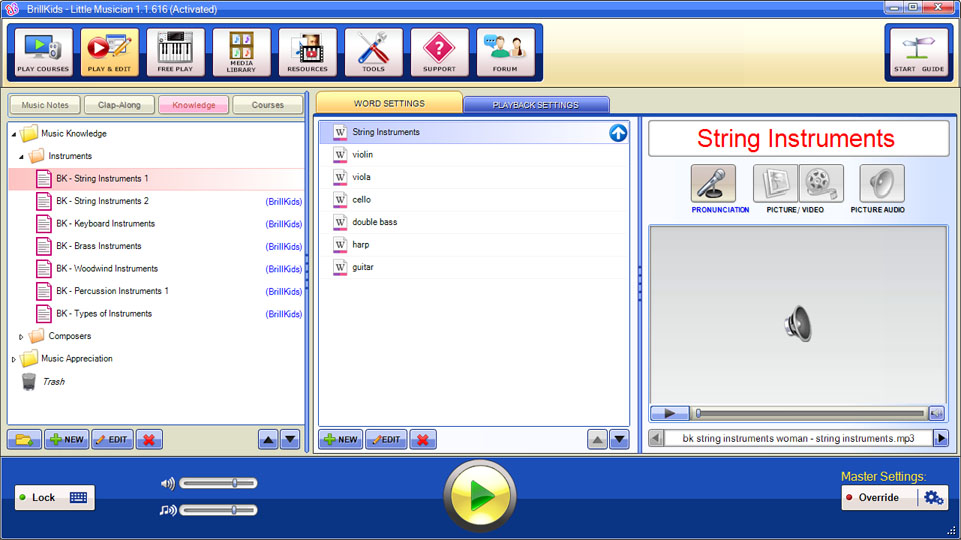
Now if you'd like a more detailed view of all your lessons, or if you want to customize settings and create even more lessons, all you'll need is in the PLAY&EDIT screen. This screen is divided into three main sections – the Lesson Panel, the Preview/Settings Panel, and the Play Panel.
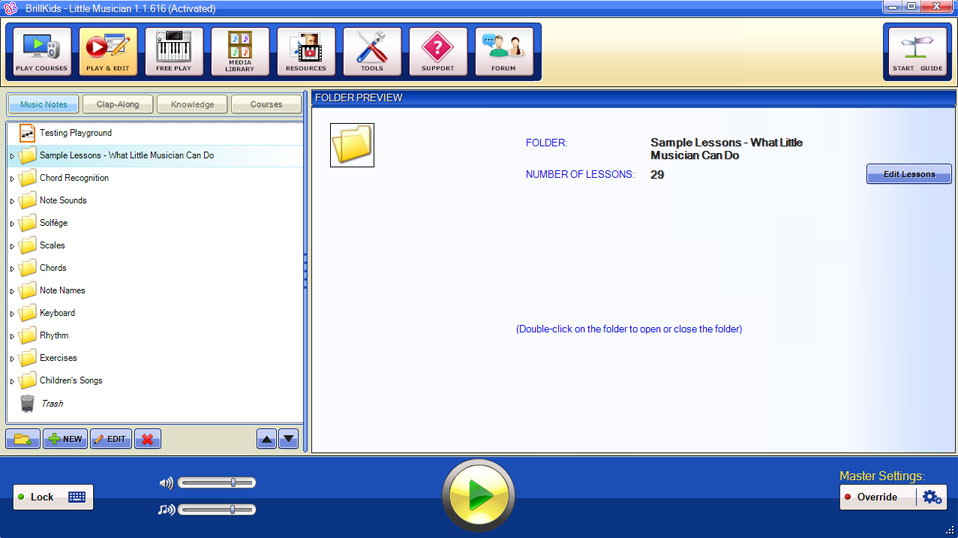
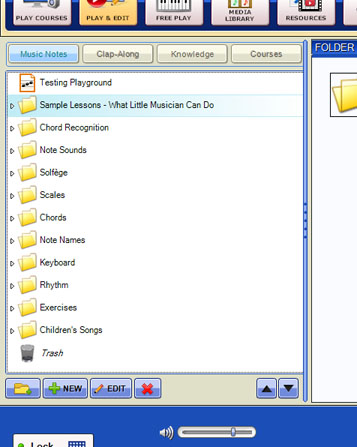
Let's take a look at the Lesson Panel first. The Lesson Panel contains lists of Courses, Music Notes, Clap-Along and Knowledge lessons that are currently available in your Little Musician. You can adjust playback settings like shifting the melody, transposing the notes and changing the tempo. You can also edit and organize your lessons using the set of buttons at the bottom of the panel.
Up next is the Preview/Settings Panel, where you can preview and edit your lessons. If you would like to edit multiple lessons at a time, just hold down SHIFT or CONTROL while selecting lessons in the Lesson panel.
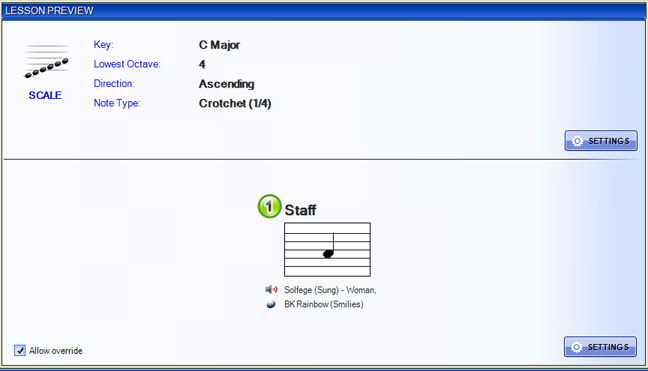
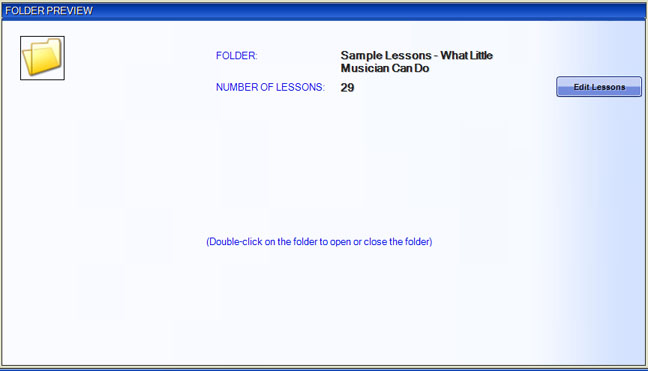
You can also select a folder and edit every lesson inside it at the same time. Simply click Edit or Settings and it should bring you to the corresponding screen.
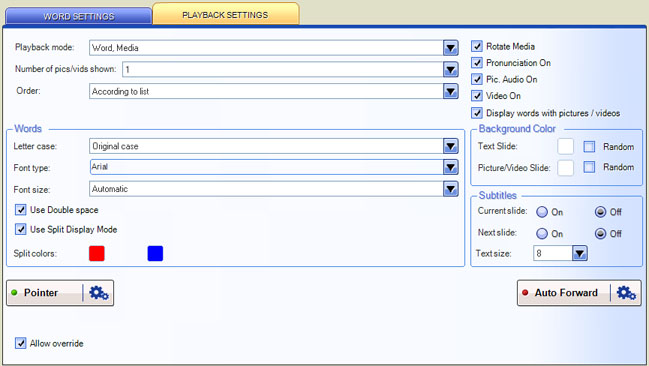
If you have a licensed Little Reader product installed, you can also create, edit and rearrange words for knowledge classes. A preview of the word's pronunciation, picture, video and picture audio are going to be shown at the right side of the Word Settings menu. Playback settings can also be changed under the Playback Settings tab.
The Play Panel running along the bottom of the PLAY&EDIT screen provides additional options for you to further customize how lessons play back: This is where you will find the voice and music volume, as well as the Lock keyboard function – specifically useful for people with very young children.

The Override Function
One key feature of the Play Panel is the Override function. This Override function is located at the bottom right corner, and this allows you to set global playback settings this way you can conveniently customize all of your lessons to play in the exact same way every time!

Free Play Screen
Up next is the Free Play screen. This is where your child can play freely on a musical keyboard, whether she is playing from her creative mind or applying what she has just learnt.
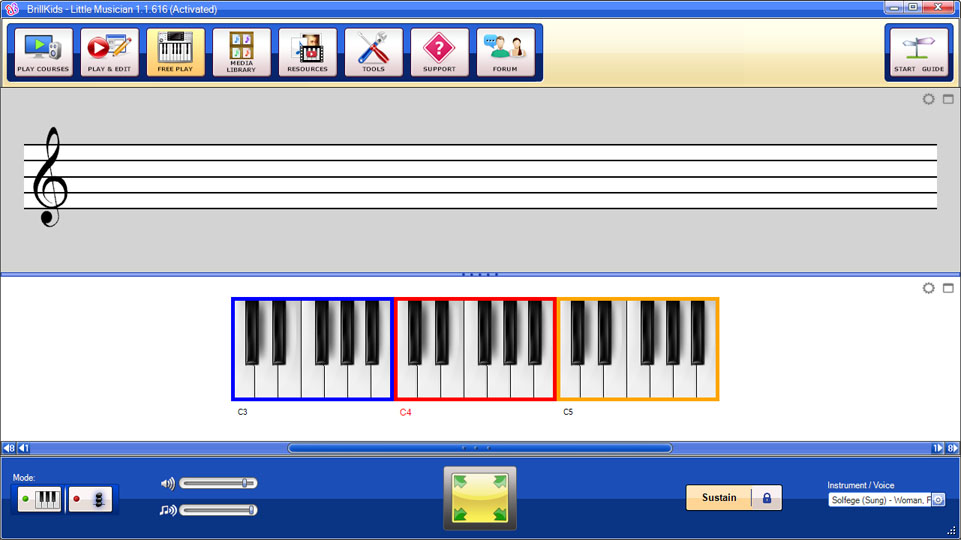
This Free Play screen is divided into three sections: the Staff, Musical Keyboard and the Settings panel. You can play with both the staff and the musical keyboard. The note being played will be shown on the staff and the key will be highlighted on the keyboard.
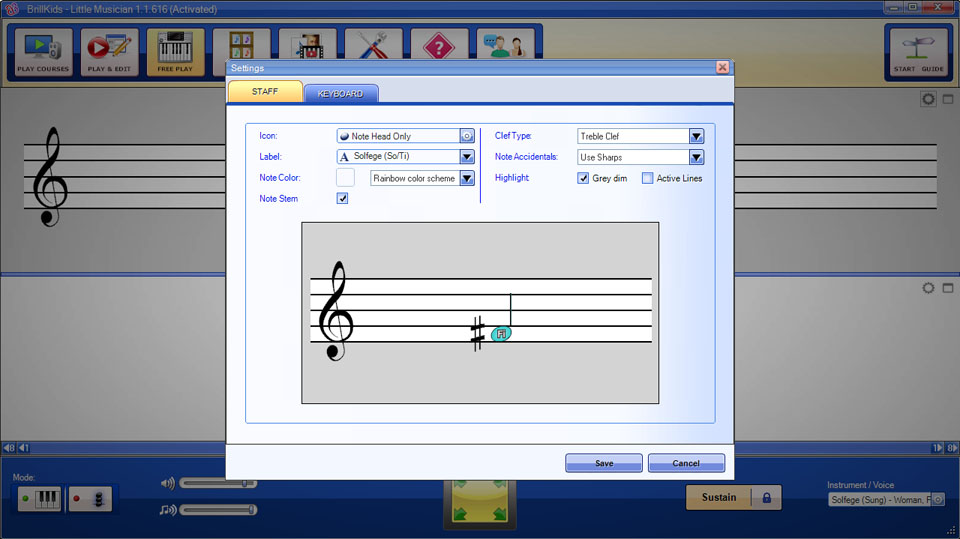
It is possible to change the color, label, number of octaves and even turn the note head into icons by clicking the settings icon on the top right corner of the panel. The settings panel allows you to select a different voice or instrument, adjust the volume, put Free Play into full screen and toggle to the Chord mode.
To exit full screen, just move your cursor to the bottom of the screen to show the settings panel or just press the ESC key.
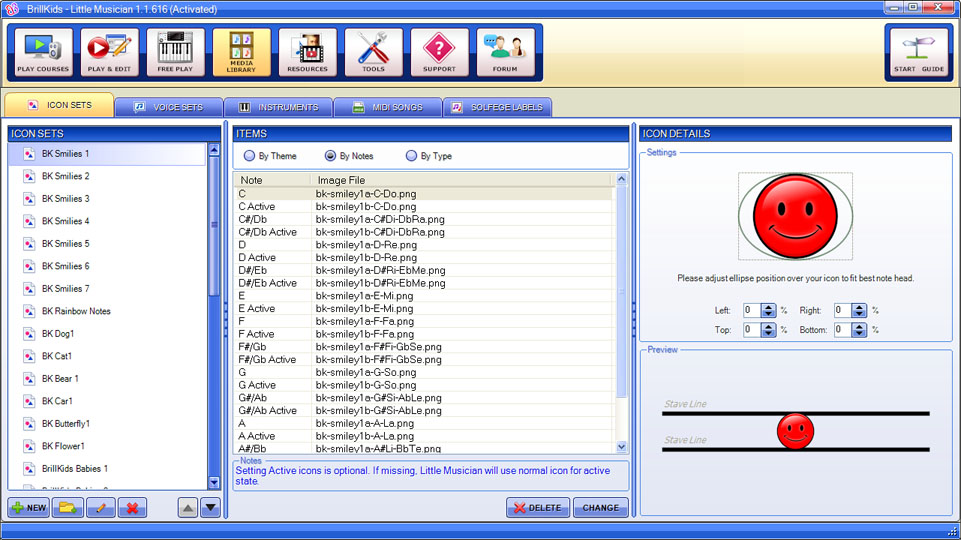
The Media Library
The Media Library is where you are going to find all the media files for your lessons. Including icons, voices, instruments, midi songs and solfege labels.
Resources Section
One of the great things about Little Musician is that it comes with hundreds of lesson days for you and your child, and you can choose to teach more by using the Resources Section.
This Resources Section is a treasure trove of YouTube videos which will help your child, and you, become familiar with the different instruments and sounds taught in Little Musician. Videos with full-length pieces of popular classical music are also embedded within this Little Musician section, so you can choose to watch and listen to these videos to add more value to what your child learns for each lesson day.
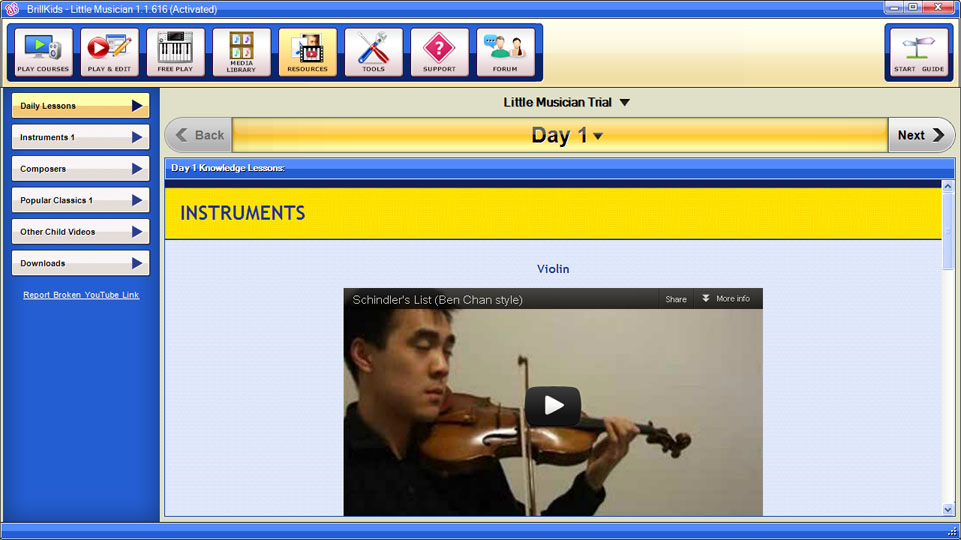
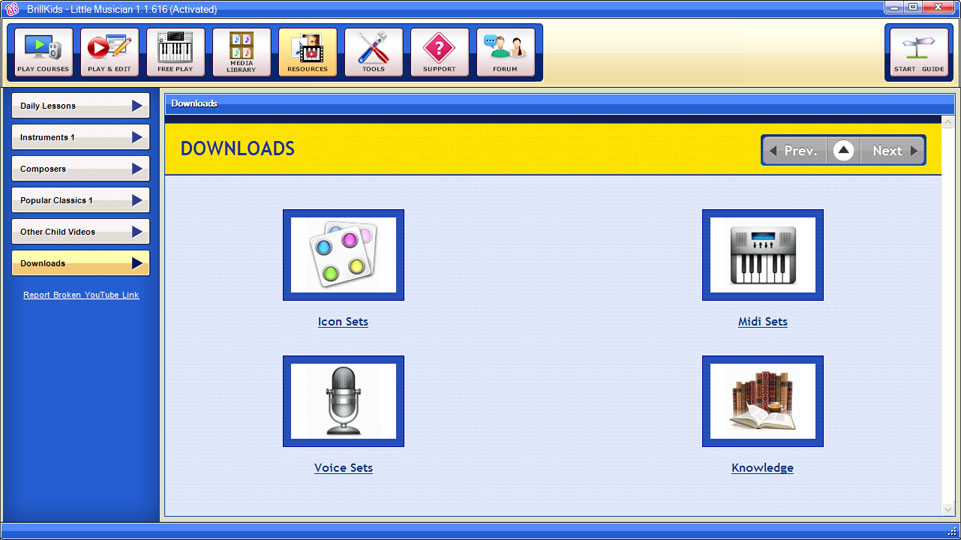
You can choose videos by lessons, Instruments, Composers or Popular Classics. Under the Downloads tab, you can easily find resources from BrillKids to download to your Little Musician.
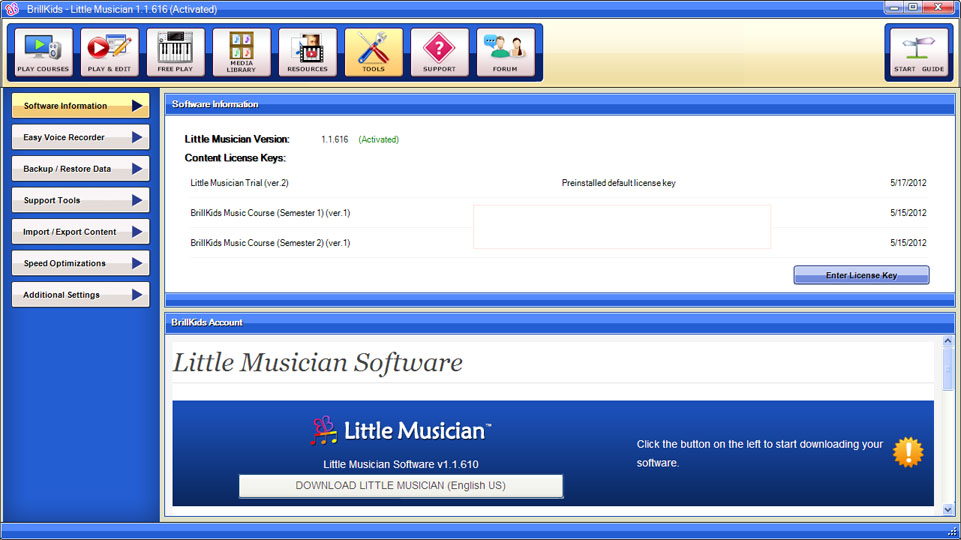
Tools
Up next is the TOOLS screen, where you can view your software information, find additional settings, as well as backup your data and optimize your Little Musician's performance.
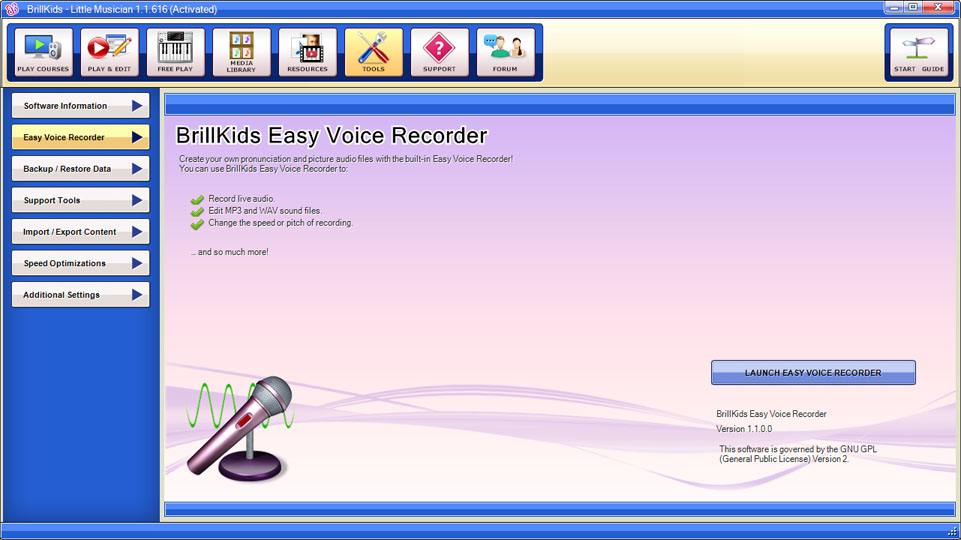
Easy Voice Recorder
Little Musician comes built-in with a no-fuss media editing tool that you can use to edit or even create your own media files and save these directly into your customized lesson.
This program is called the Easy Voice Recorder, and it is going to make sound recording and editing so much simpler and easier for you. Now you can record your own pronunciations, picture audio or sound effects - nothing can be more exciting for your baby than hearing a familiar voice during her Little Musician lessons!

The Backup/Restore Data function
While you are working on customizing your Little Musician lessons, you may occasionally want to backup your datafor this purpose, you can use the Backup/Restore Data function. This saves a file of all your data which you can import later on in the event of crashes or computer hardware failure.

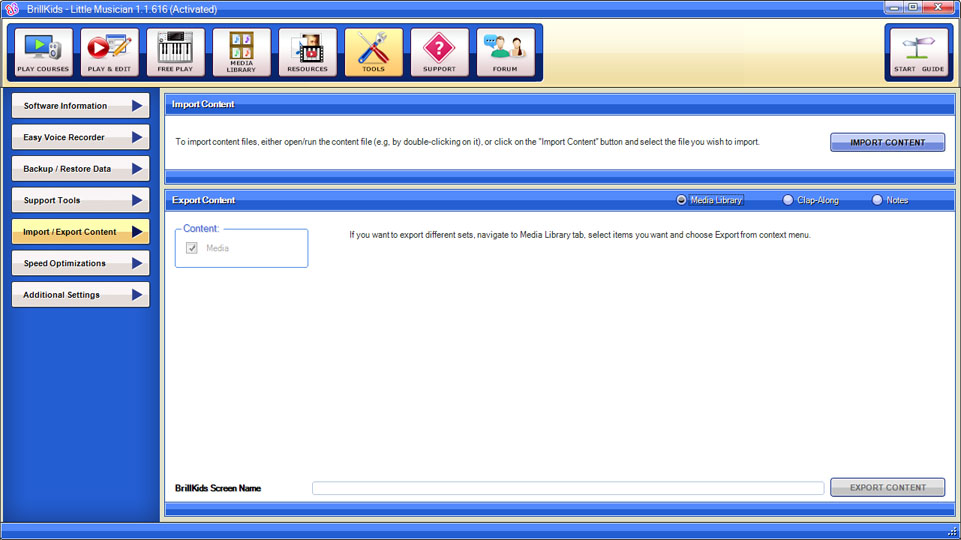
Import/Export function
Aside from this, you can also use the Import/Export function to save your lesson Playlists or Categories, this will easily store and transfer to another computer, where you have Little Musician installed, or you can upload your files to the Forum Library and share it with other users!
The Support Screen
Next to the TOOLS screen is the SUPPORT screen, this is where you are going to find quick solutions to any technical problems you might encounter while using your Little Musician.
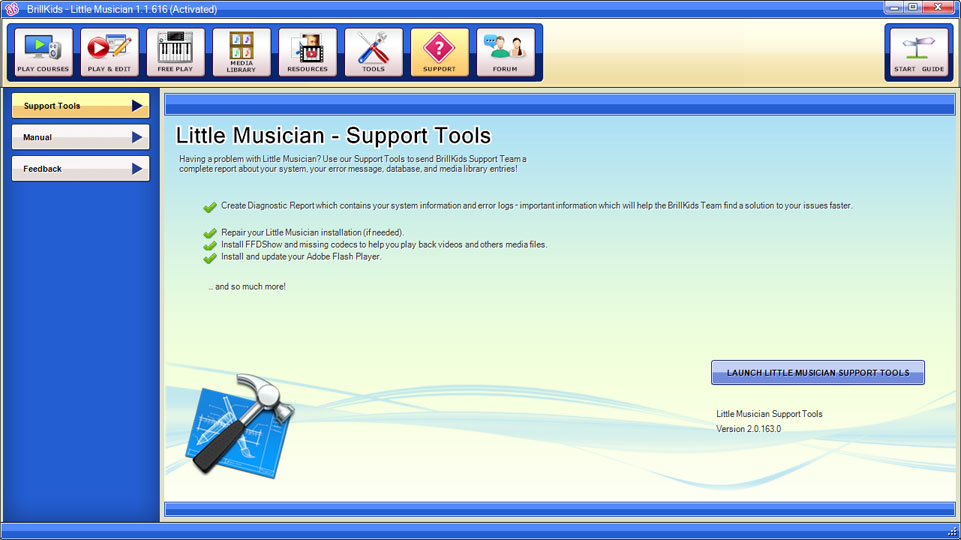
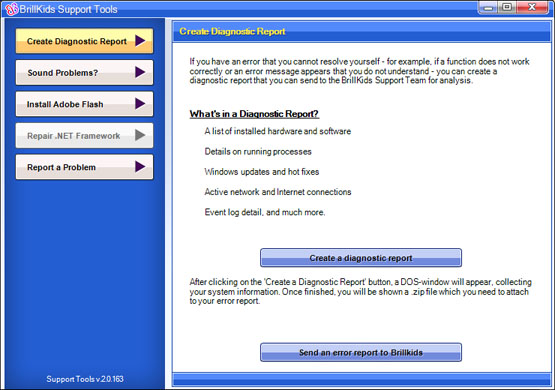
Located in the Support screen is the Support Tools Function, these troubleshooting and repair functions will help you fix the most common media playback problems you might encounter. Just in case your issue remains unsolved or you are having other problems, just create a diagnostic report and send it to the BrillKids team directly from your Little Musician.
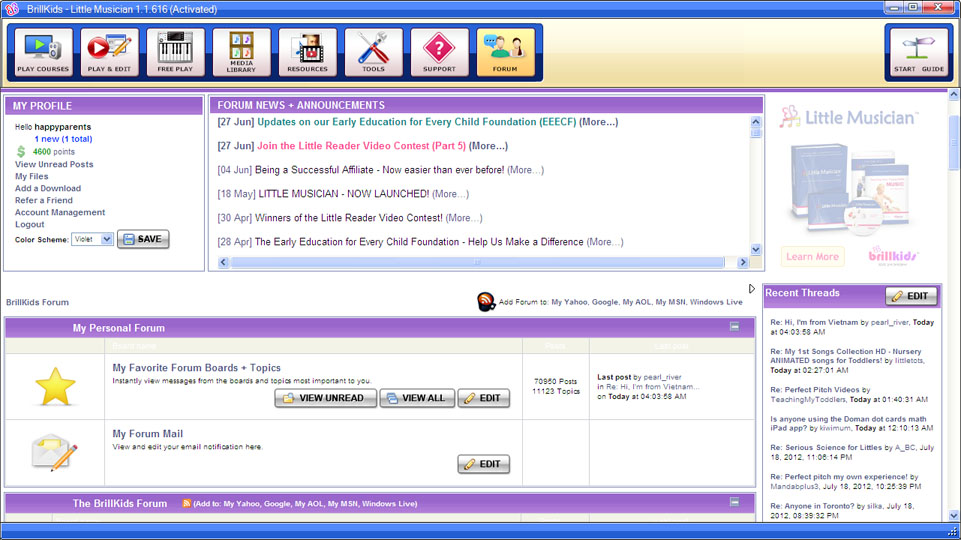
The Forum Screen
Last, but certainly not the least, is the FORUM screen. It is an easy access window to see all the new discussions from the BrillKids Forum about Little Musician!
And that's it! I have just given you a tour of Little Musician's key features, happy teaching!
Comments