

How to Use BrillKids Flap Cards
Our unique flap cards are a great way to teach your child to read using the multisensory method! Your child will enjoy learning about each word by opening flaps and seeing the pictures. Each flap card is made or durable child-safe plastic, so you can get more use out of each card. Just insert the pictures and corresponding words into the plastic flaps, and attach them to the BrillKids Presentation Binder!

Use the pre-printed word and picture sheets, and insert them into the flap cards. You may choose to put the word in the outer flap (B), and place the image in the inner Insert area (C) and vice-versa.

1. Attach the prepared flap cards onto the BrillKids Presentation Binder, or use them separately as hand-held flap cards.
2. For multisensory lessons, show your child the word/image on the outer flap first, and then open the flap to display the image/word, or encourage your child to open the flap herself.

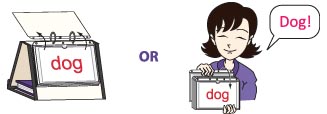
3. When presenting a word card, run your index finger along the bottom of the word while pronouncing the word(s) clearly. This will help emphasize the direction of reading – from the leftmost letter moving towards the right. During these lessons, interact with your child as much as possible and engage as many of her senses as you can.
4. For flash lessons, flip through the cards in the binder as swiftly as possible using the presentation binder, or(if not using the binder) flip through the stack of cards with your hands by putting the card at the back of the stack and placing it at the front.
5. Play games with your child with the flap cards by placing two or more cards in front of her and asking her to choose the correct one. Whether or not she gets it right, applaud her for her effort!
NOTE: At the back of each card is a note area (D) - in case you want to use the flash method to teach your child, you can use a pencil to write down the word each card contains, so you know what word is in the card you are holding. Erase with an eraser as necessary.

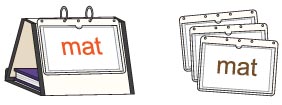
How to Use BrillKids Flash Cards
Customize your flash lessons by changing the font and colors of the words! Simply change the printouts, insert them into the plastic flash cards and present them to your child!

1. Use the pre-printed word or picture sheets, and insert them into the insert area (B) of the flash cards. You have the option of using only pictures (for a picture flash lesson) or only words (for a word flash lesson).
TIP: These cards are ideal for use with the BrillKids Pattern Phonic™ word categories.
2. Attach the prepared flash cards onto the BrillKids Presentation Binder, or use them separately.
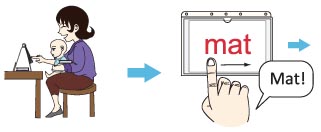
3. If using the multisensory method, run your index finger along the bottom of the word. This will help emphasize the direction of reading – from the leftmost letter moving towards the right. During these lessons, interact with your child as much as possible and engage as many of her senses as you can.
4. For flash lessons, flip through the cards in the binder as swiftly as possible using the presentation binder, or (if not using the binder) flip through the stack of cards with your hands by putting the card at the back of the stack and placing it at the front.
5. Play games with your child with the flash cards by placing two or more cards in front of her and asking her to choose the correct one. Whether or not she gets it right, applaud her for her effort!
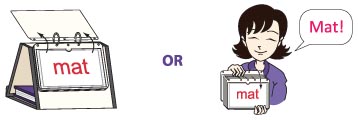
6. Don't forget to pronounce the word(s) clearly during the lessons!
TIP: At the back of each card is a note area (C) - in case you want to use the flash method to teach your child, you can use a pencil to write down the word each card contains, so you know what word is in the card you are holding. Erase with an eraser as necessary.
Comments