

Aside from the Settings Panel, the Play Panel along the bottom of the Play & Edit Screen provides additional options for you to further customize how presentations play back for your child.

Keyboard
When the Keyboard button has a check mark, this means you can use your keyboard during lessons.

When it is turned off (red cross), all power will be removed from your keyboard during playback (except the ESC key to exit presentations). This is useful if your baby often likes to play with the keyboard buttons.

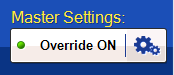
Override
NOTE: This feature is only available with Little Musician Pro.

When the Override button is turned on (green light), all playback settings set in the Override Settings window will take effect during playback, disregarding any playback settings previously set in the Settings Panel for each lesson.
Click on the Cog button next to the Override button to configure and save universal playback settings in the Override Settings window, as shown below:
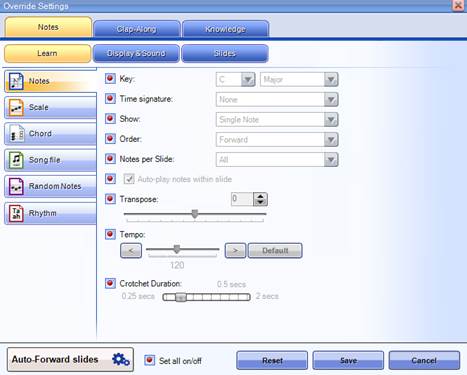
In the Override Settings window, you may choose to turn on only specific settings so that only those settings will be overridden, and the rest of the settings will be left as previously configured in each lesson. For example, if the Split Display Mode setting under the Knowledge tab is turned on, all the words played back will be flashed in split colors, even for categories originally in normal display mode.
Volume Settings
NOTE: This feature is only available with Little Musician Pro.
|
|
|
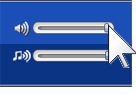

NOTE: You can further increase or decrease volume through your computer and speaker volume controls.
Clap-Along Settings
NOTE: This feature is only available with Little Musician Pro.
When you select any Clap-Along lesson from the Play & Edit Screen's Clap-Along or Courses tabs, the Clap-Along playback settings will be displayed between the Play button and the Override Button. From here you can quickly change how your Clap-Along lesson will be played.
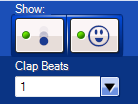
Show Icon & Character - The button on the left allows you to show or hide the falling icon, while the button on the right lets you show or hide the clapping animated character. To turn on either or both icon and character, click once on the corresponding button so that the light turns green. Click the button once to turn it off, and the light will turn red.
Clap Beats - This allows you to select the type of beat you want to clap along to during playback (e.g., 1 and 2, Every Beat, Melody, etc.).
Tempo - This controls the speed or pace of the music and clapping during playback. Move the slider towards the right side of the bar for a faster tempo, or move the slider to the left for a slower tempo. If you want to go back to the song's original tempo, click on the Default button.
Comments